
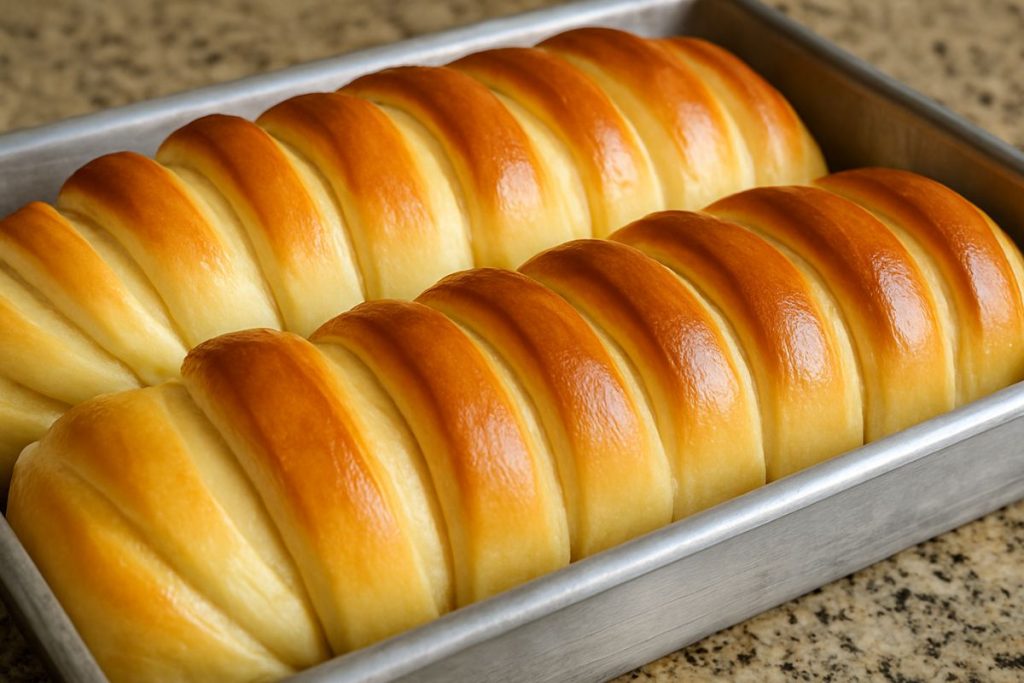
Homemade Bread Yeast with Just 2 Ingredients: More Flavor and Better Texture

Have you ever found yourself looking at the bakery and thinking: "Do I really need to spend so much on bread every day?"
You're not alone. The price of bread has gone up, and many Brazilians are looking for cheaper alternatives.
But when looking for a solution, doubts arise: is it worth making bread at home? Do you need a machine? Is it too much work?
The good news is that there is a practical, cheap and delicious alternative: the economical homemade bread.
With affordable ingredients and simple preparation, you can make fresh bread whenever you want.
What's more, the taste is incomparable and the savings make all the difference at the end of the month.
With that in mind, we've brought you a complete, step-by-step recipe so you can learn how to make your own homemade bread easily, even if you've never made it before.
Before we get to the recipe, it's important to understand the advantages of preparing homemade bread at home.
Firstly, the economic factor is one of the main reasons. One kilo of flour yields several loaves of bread and costs much less than ready-made bread.
What's more, by making your own bread, you have total control over the ingredients used.
In other words, you can avoid preservatives, reduce salt or sugar and even adapt the recipe to your personal taste.
Another essential point is practicality. Although it may seem complicated, preparing economical homemade bread can be done with simple utensils.
And over time, you gain practice and agility - you can even turn this into a source of extra income.
Finally, the taste and aroma of home-made bread are unique. The smell that invades the kitchen as it bakes is irresistible.
And when you cut into the first slice while it's still warm, the feeling is one of pure satisfaction.
Now that you know why it's worth betting on the cheap and easy homemade breadLet's get down to business.
Here are the ingredients and the complete instructions to get you started today.
ObservationThe amount of flour can vary depending on the brand. Ideally, add it little by little until you reach the right consistency.
1. Activating the yeast
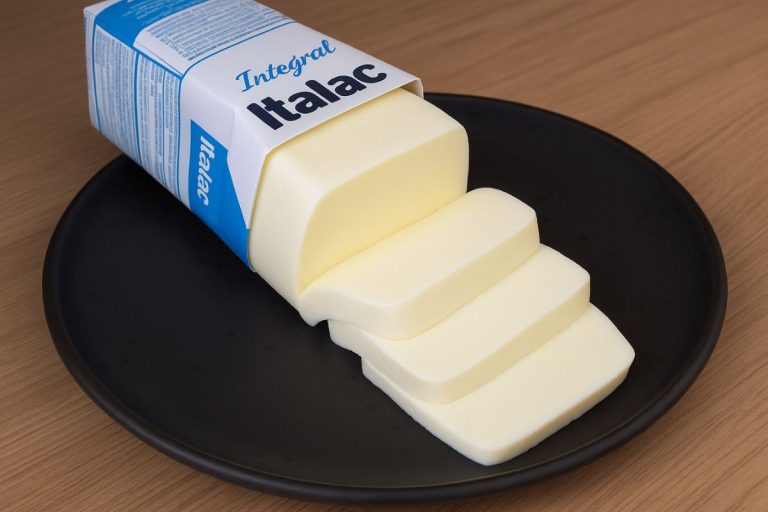
First, heat the milk and water until they are lukewarm, like bottle temperature.
Then add the dry yeast and mix well, leaving it to rest for 5 minutes to activate.
2. Mixing liquids
In another bowl, beat the eggs, add the oil, powdered milk (if using), sugar and salt.
After that, mix all the ingredients well until they form a smooth cream.
3. Incorporating the flour
Then gradually add the wheat flour, stirring with a spoon or your hands.
As soon as the dough starts to come together, transfer it to a floured surface and knead for about 10 minutes.
4. First fermentation
Place the dough in a bowl, cover with a clean cloth and leave to rest for 40 minutes.
The dough should double in volume during this period.
1. shaping the loaves
After resting, divide the dough into two parts and shape into the desired shape (baton, balls, rectangular shape).
Place in greased and floured moulds, leaving room to rise again.
2. Second fermentation
Cover and leave to rest for another 30 to 40 minutes.
This time is crucial for the bread to be light and airy.
3. Baking the bread
Preheat the oven to 180°C.
Bake the loaves for 30 to 40 minutes, or until they are golden brown and make a hollow sound when tapped lightly.
Bonus tip: when removed from the oven, brush with a mixture of egg yolk and milk for a shiny, smooth finish.
In addition to the basic recipe, a few tips can transform your simple and cheap homemade bread.
These tricks are useful if you want to personalize the dough or guarantee a professional result.
Add flavordried herbs, oregano, grated cheese, pieces of pepperoni or olives can be added to the pasta.
This creates incredible variations and makes each batch a new experience.
Humidity controlAvoid baking on very humid days or when the oven is not heated properly.
Ideally, always preheat the oven for at least 10 minutes before placing the bread in it.
Optimal conservationOnce cold, store the bread in a clean plastic bag or sealed jar to keep it fresh for longer.
If you prefer, you can freeze it for up to 3 months. Simply defrost in the oven to use later.
Extra incomeIf desired, double the recipe and freeze the baked or uncooked bread.
This way, you'll always have bread ready at home, with guaranteed savings and flavor.
With the price of food constantly rising, finding ways to save money without losing quality is essential.
O economical homemade bread stands out as an affordable, nutritious and versatile solution.
What's more, by making bread a part of your routine, you're strengthening healthier habits.
This is because you eliminate additives and gain autonomy over what you consume.
Many families are already opting for this alternative and report not only savings, but also moments of togetherness.
Baking bread with your children or partner can be a pleasurable and educational activity.
Finally, if you're thinking of becoming an entrepreneur, this recipe could also be the starting point.
All you have to do is put your best foot forward, spread the word on social media and serve the neighborhood - which is sure to fall in love.
The preparation of the economical homemade bread is more than just a low-cost alternative.
It's a way of rescuing flavors, creating memories and transforming simple ingredients into something special.
With just a few steps, you can have warm bread every day, spending less and with much more flavor.
Whether for your own consumption or to sell, this recipe is practical, versatile and delicious.
Try it today, share it with your family and rediscover the pleasure of baking your own bread at home!


 English

